Rebuilding an Icon
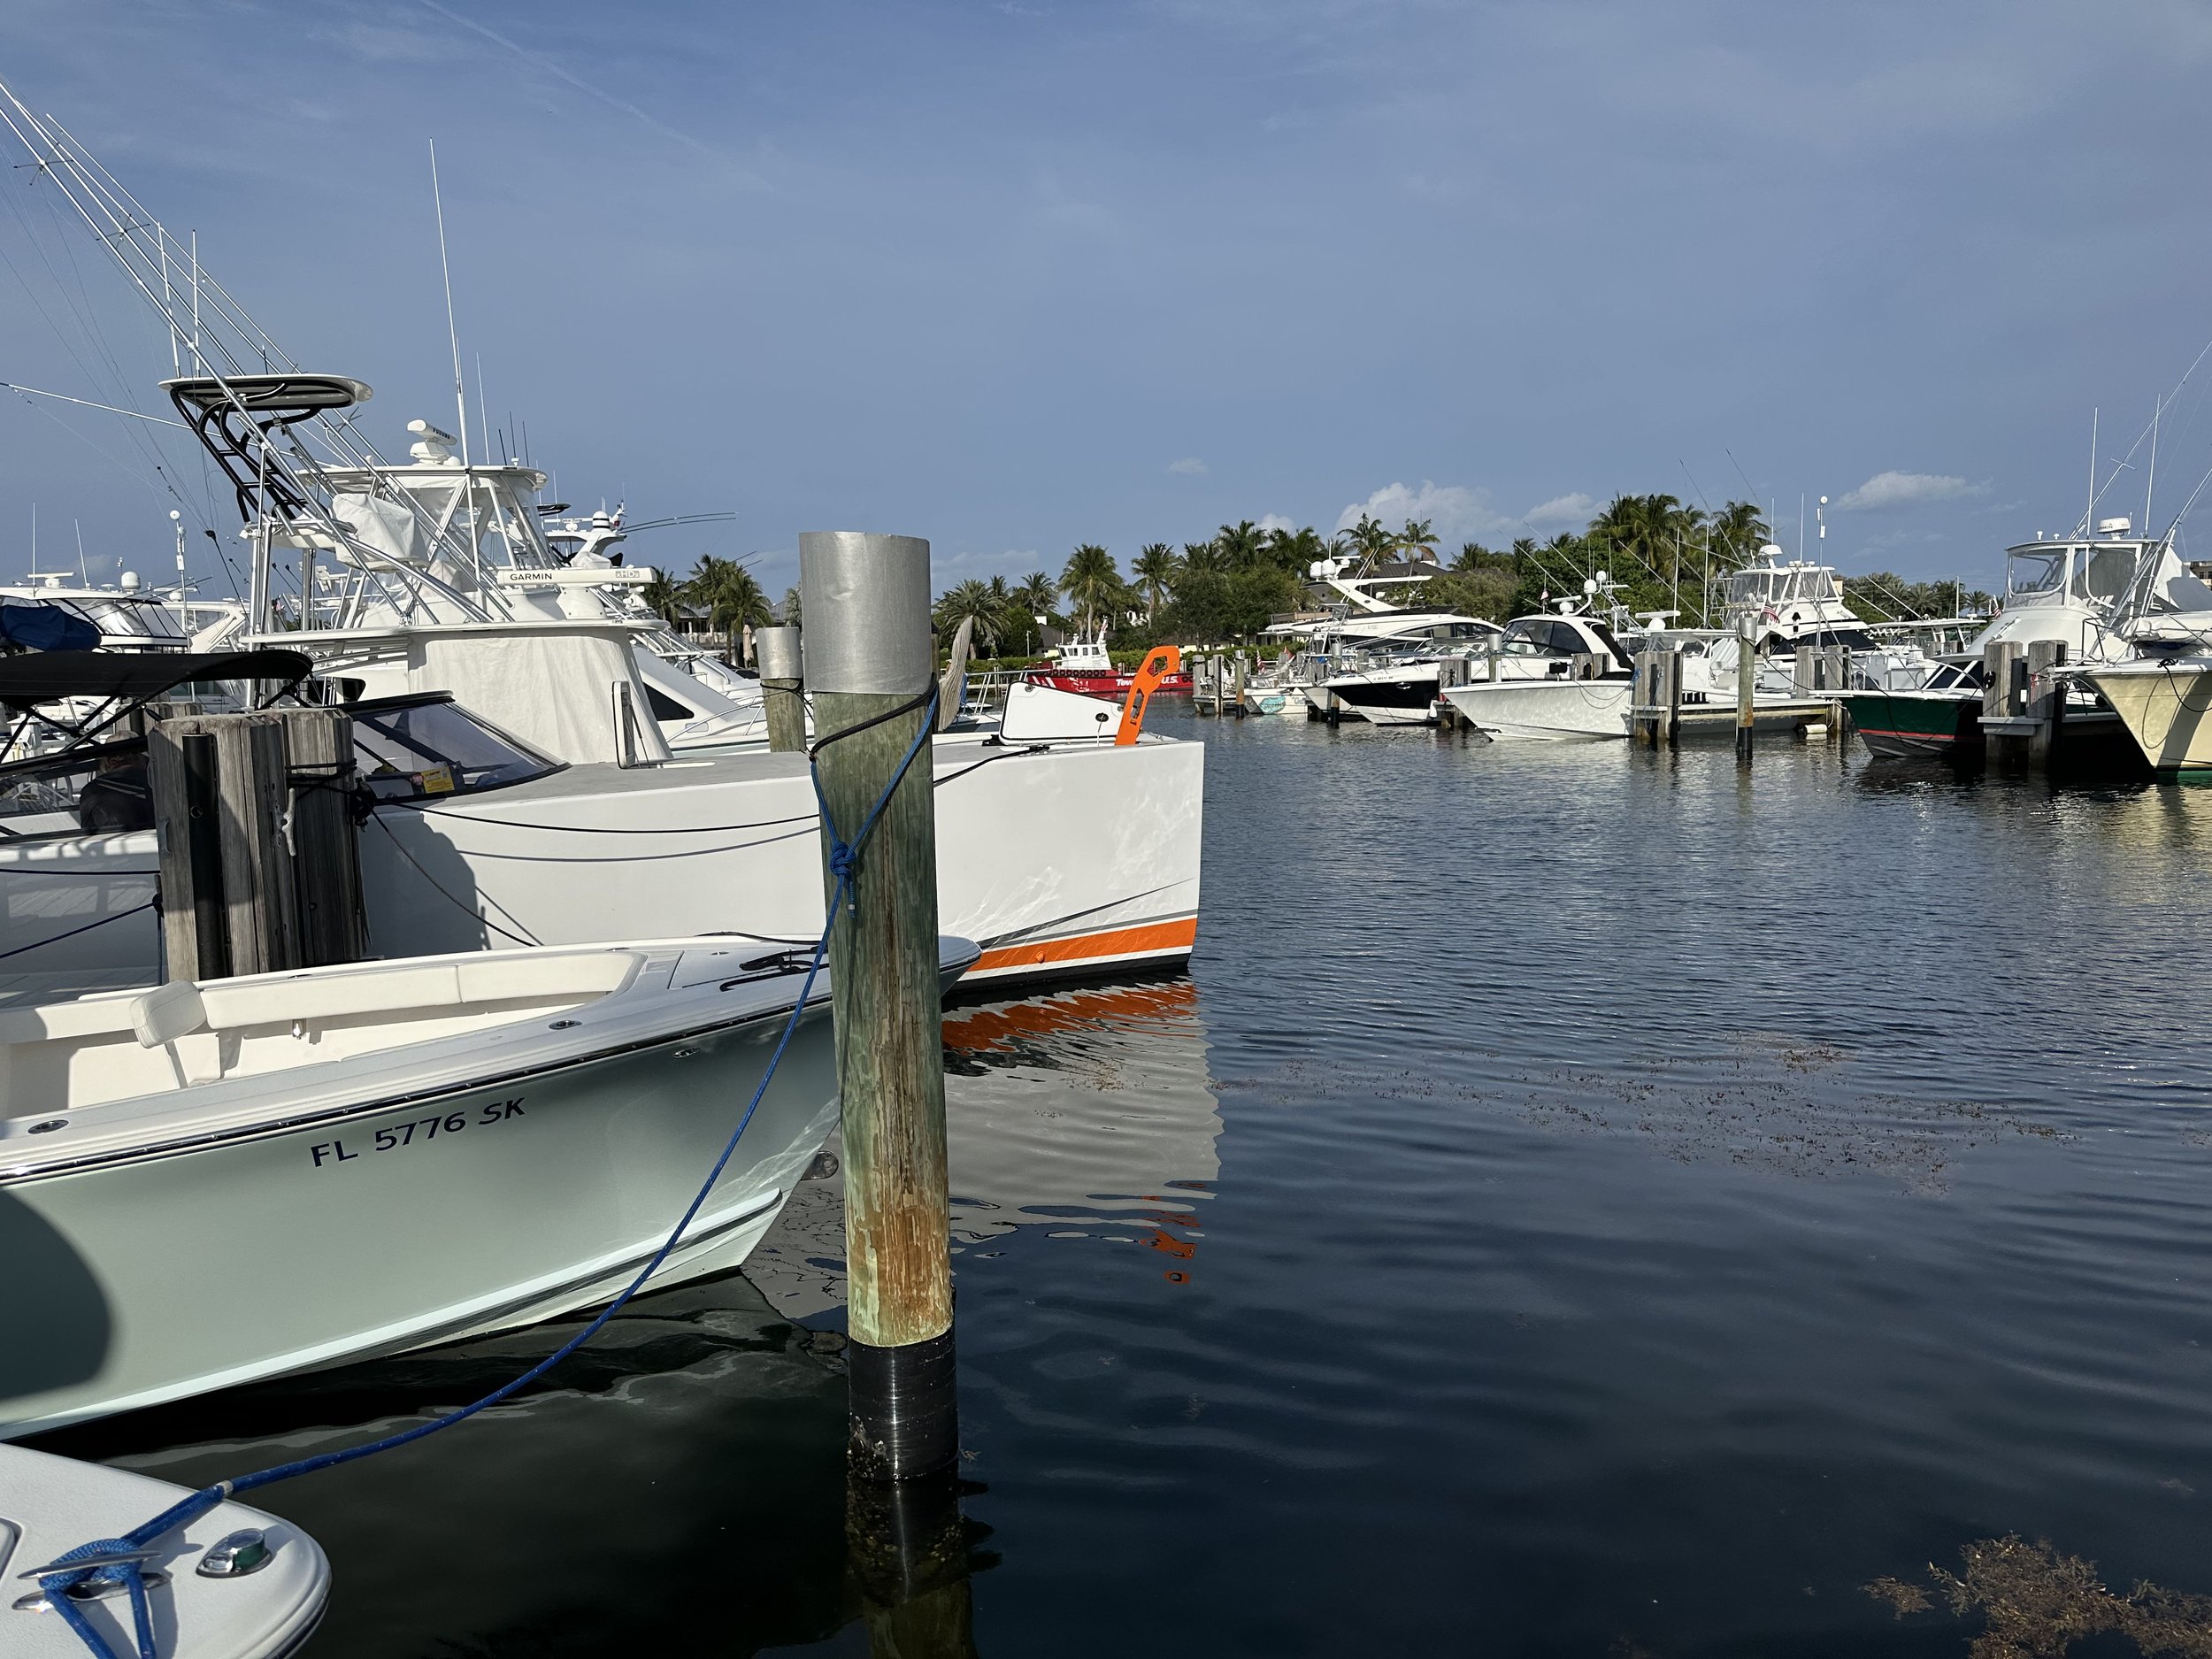
VanDutch 40 “Boobytrap” sits in its new home in Toms River, NJ after a 3-month rebuild in Fort Lauderdale, FL.
We Rebuilt This VanDutch 40. It’s the Best in the World.
Here’s the story.
The market was void of viable options; and Jason’s summer was coming. He’s used to race boats, where top speed was the top prize, and there wasn’t much refrigeration space. He wanted a change. VanDutch had piqued his interest but nothing on the market was filling the void, so he bought a neglected VD40 and called to see if I wanted a hand in fixing it up. I always appreciate a challenge, and especially loved when he said ‘anything goes’.
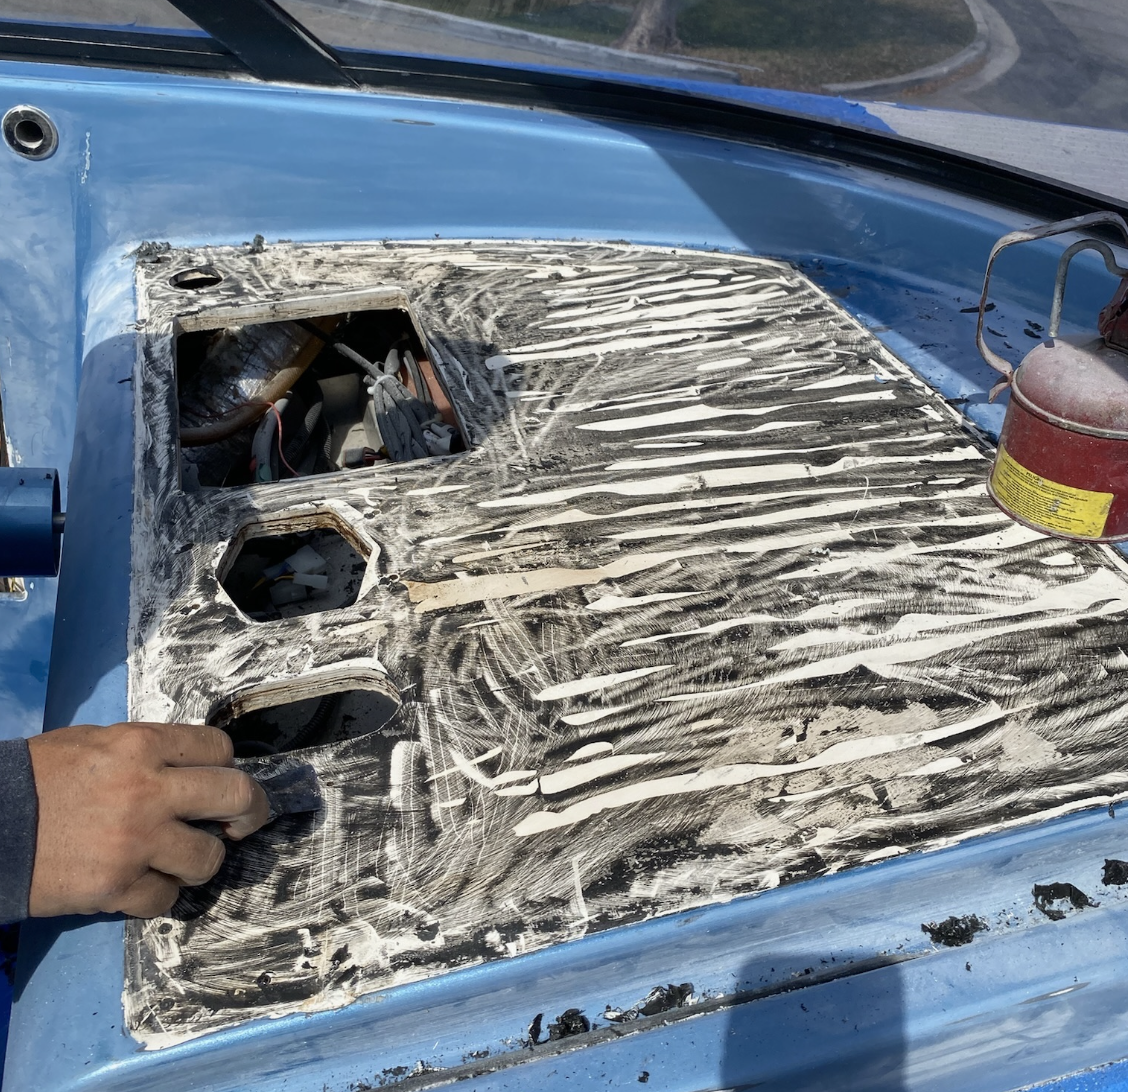
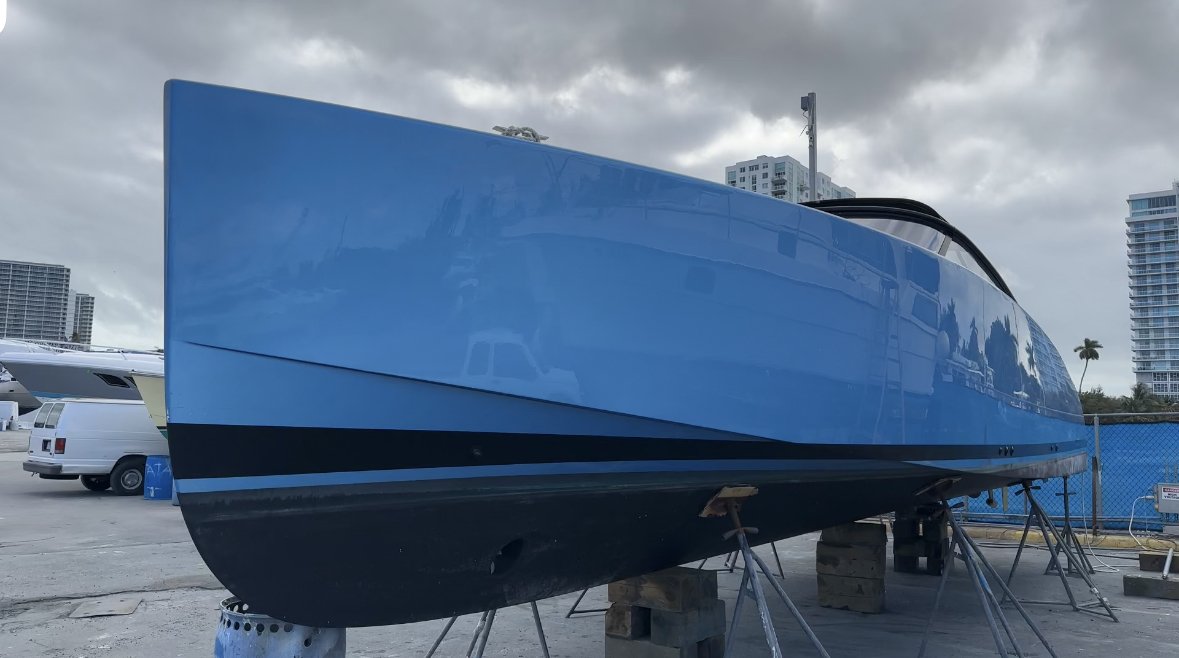
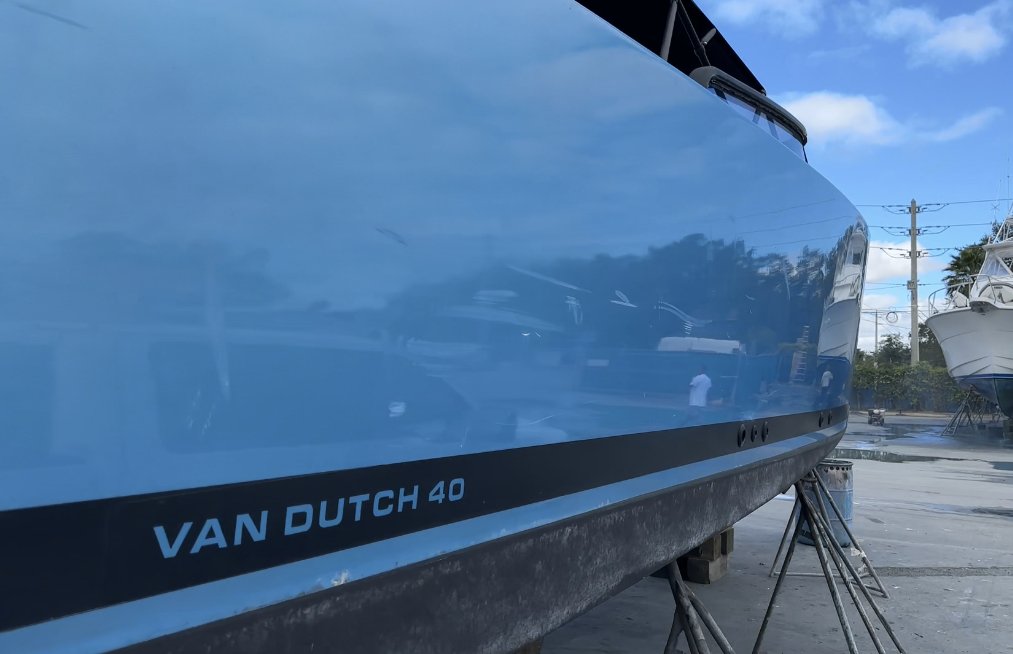
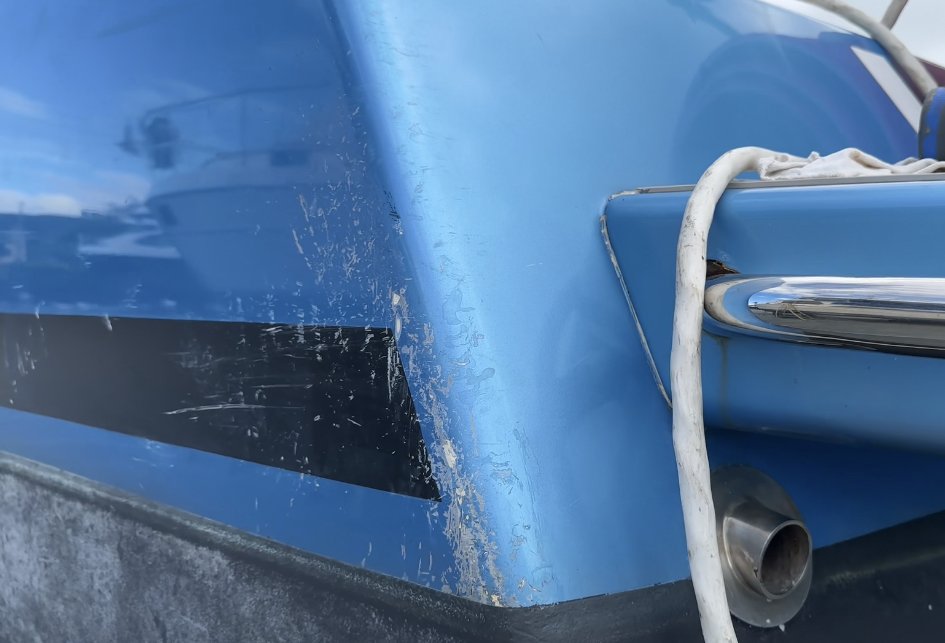
In late January we received a porous and unfit 2015 VanDutch 40 with a dead engine, a corroded electrical system, and a laundry list of “to do’s”. Regardless, our end game was still the same. This would finish as the best VanDutch 40 in the world.



STEP 1: Address Problems
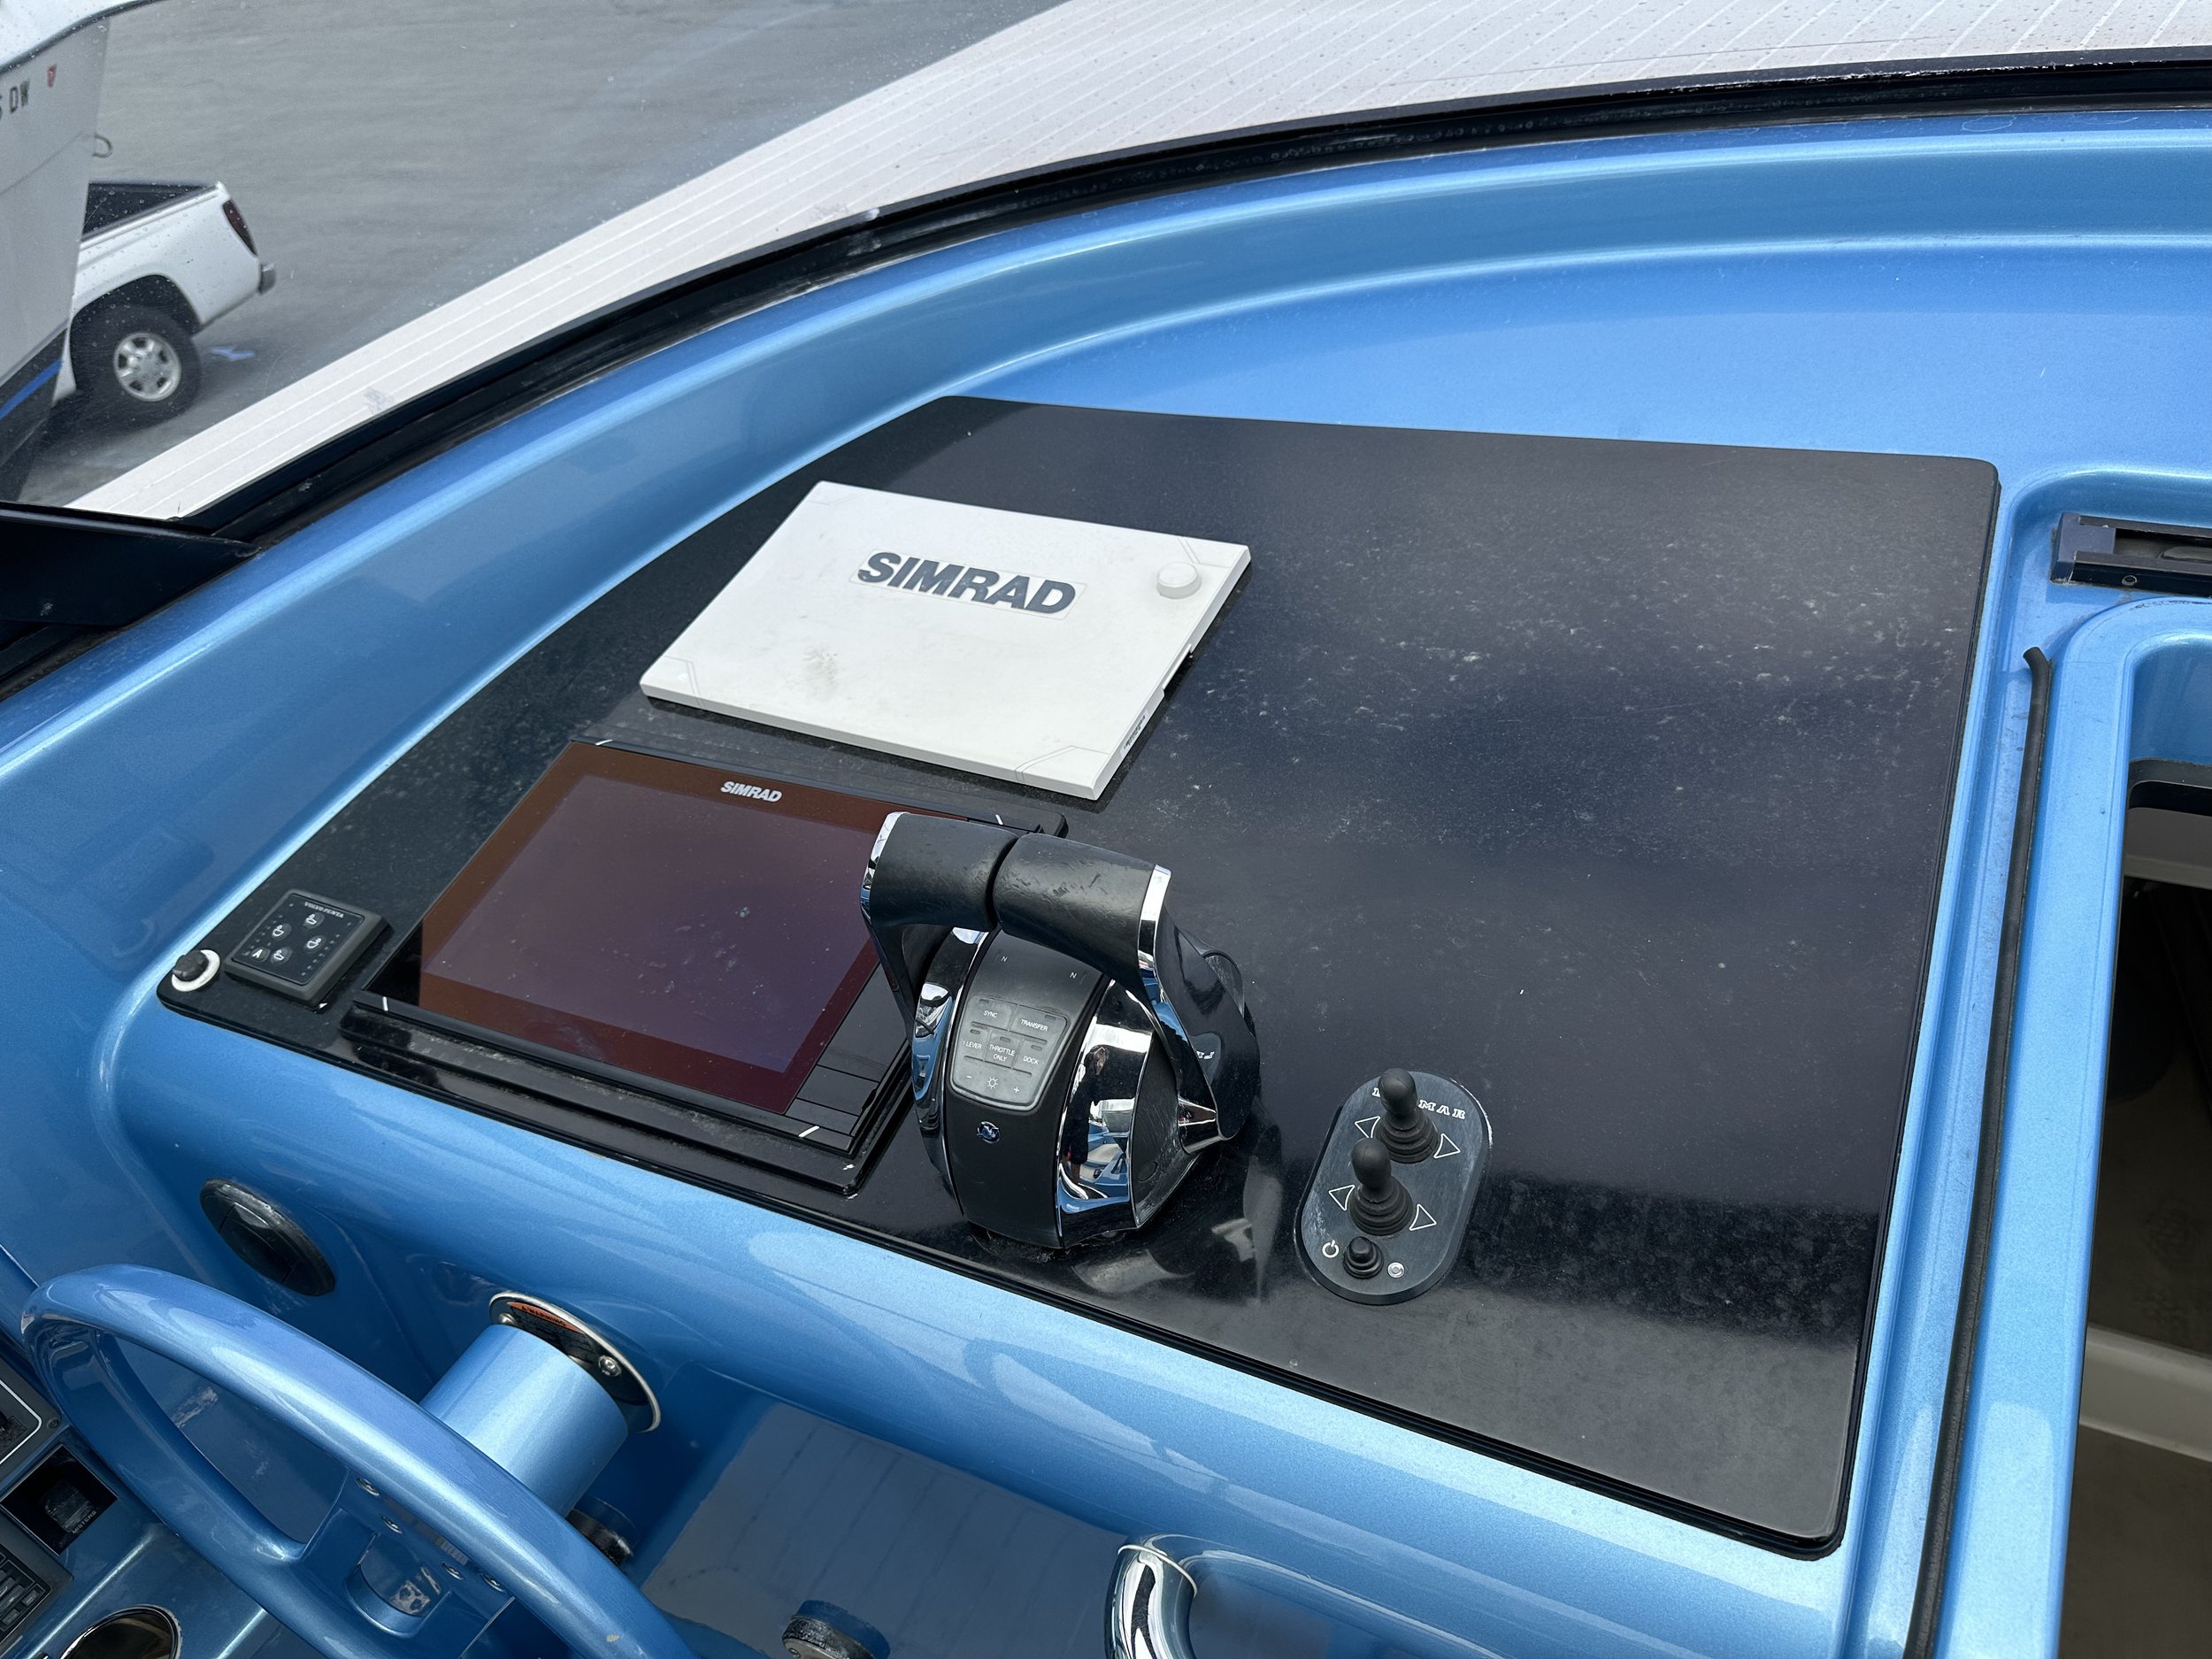
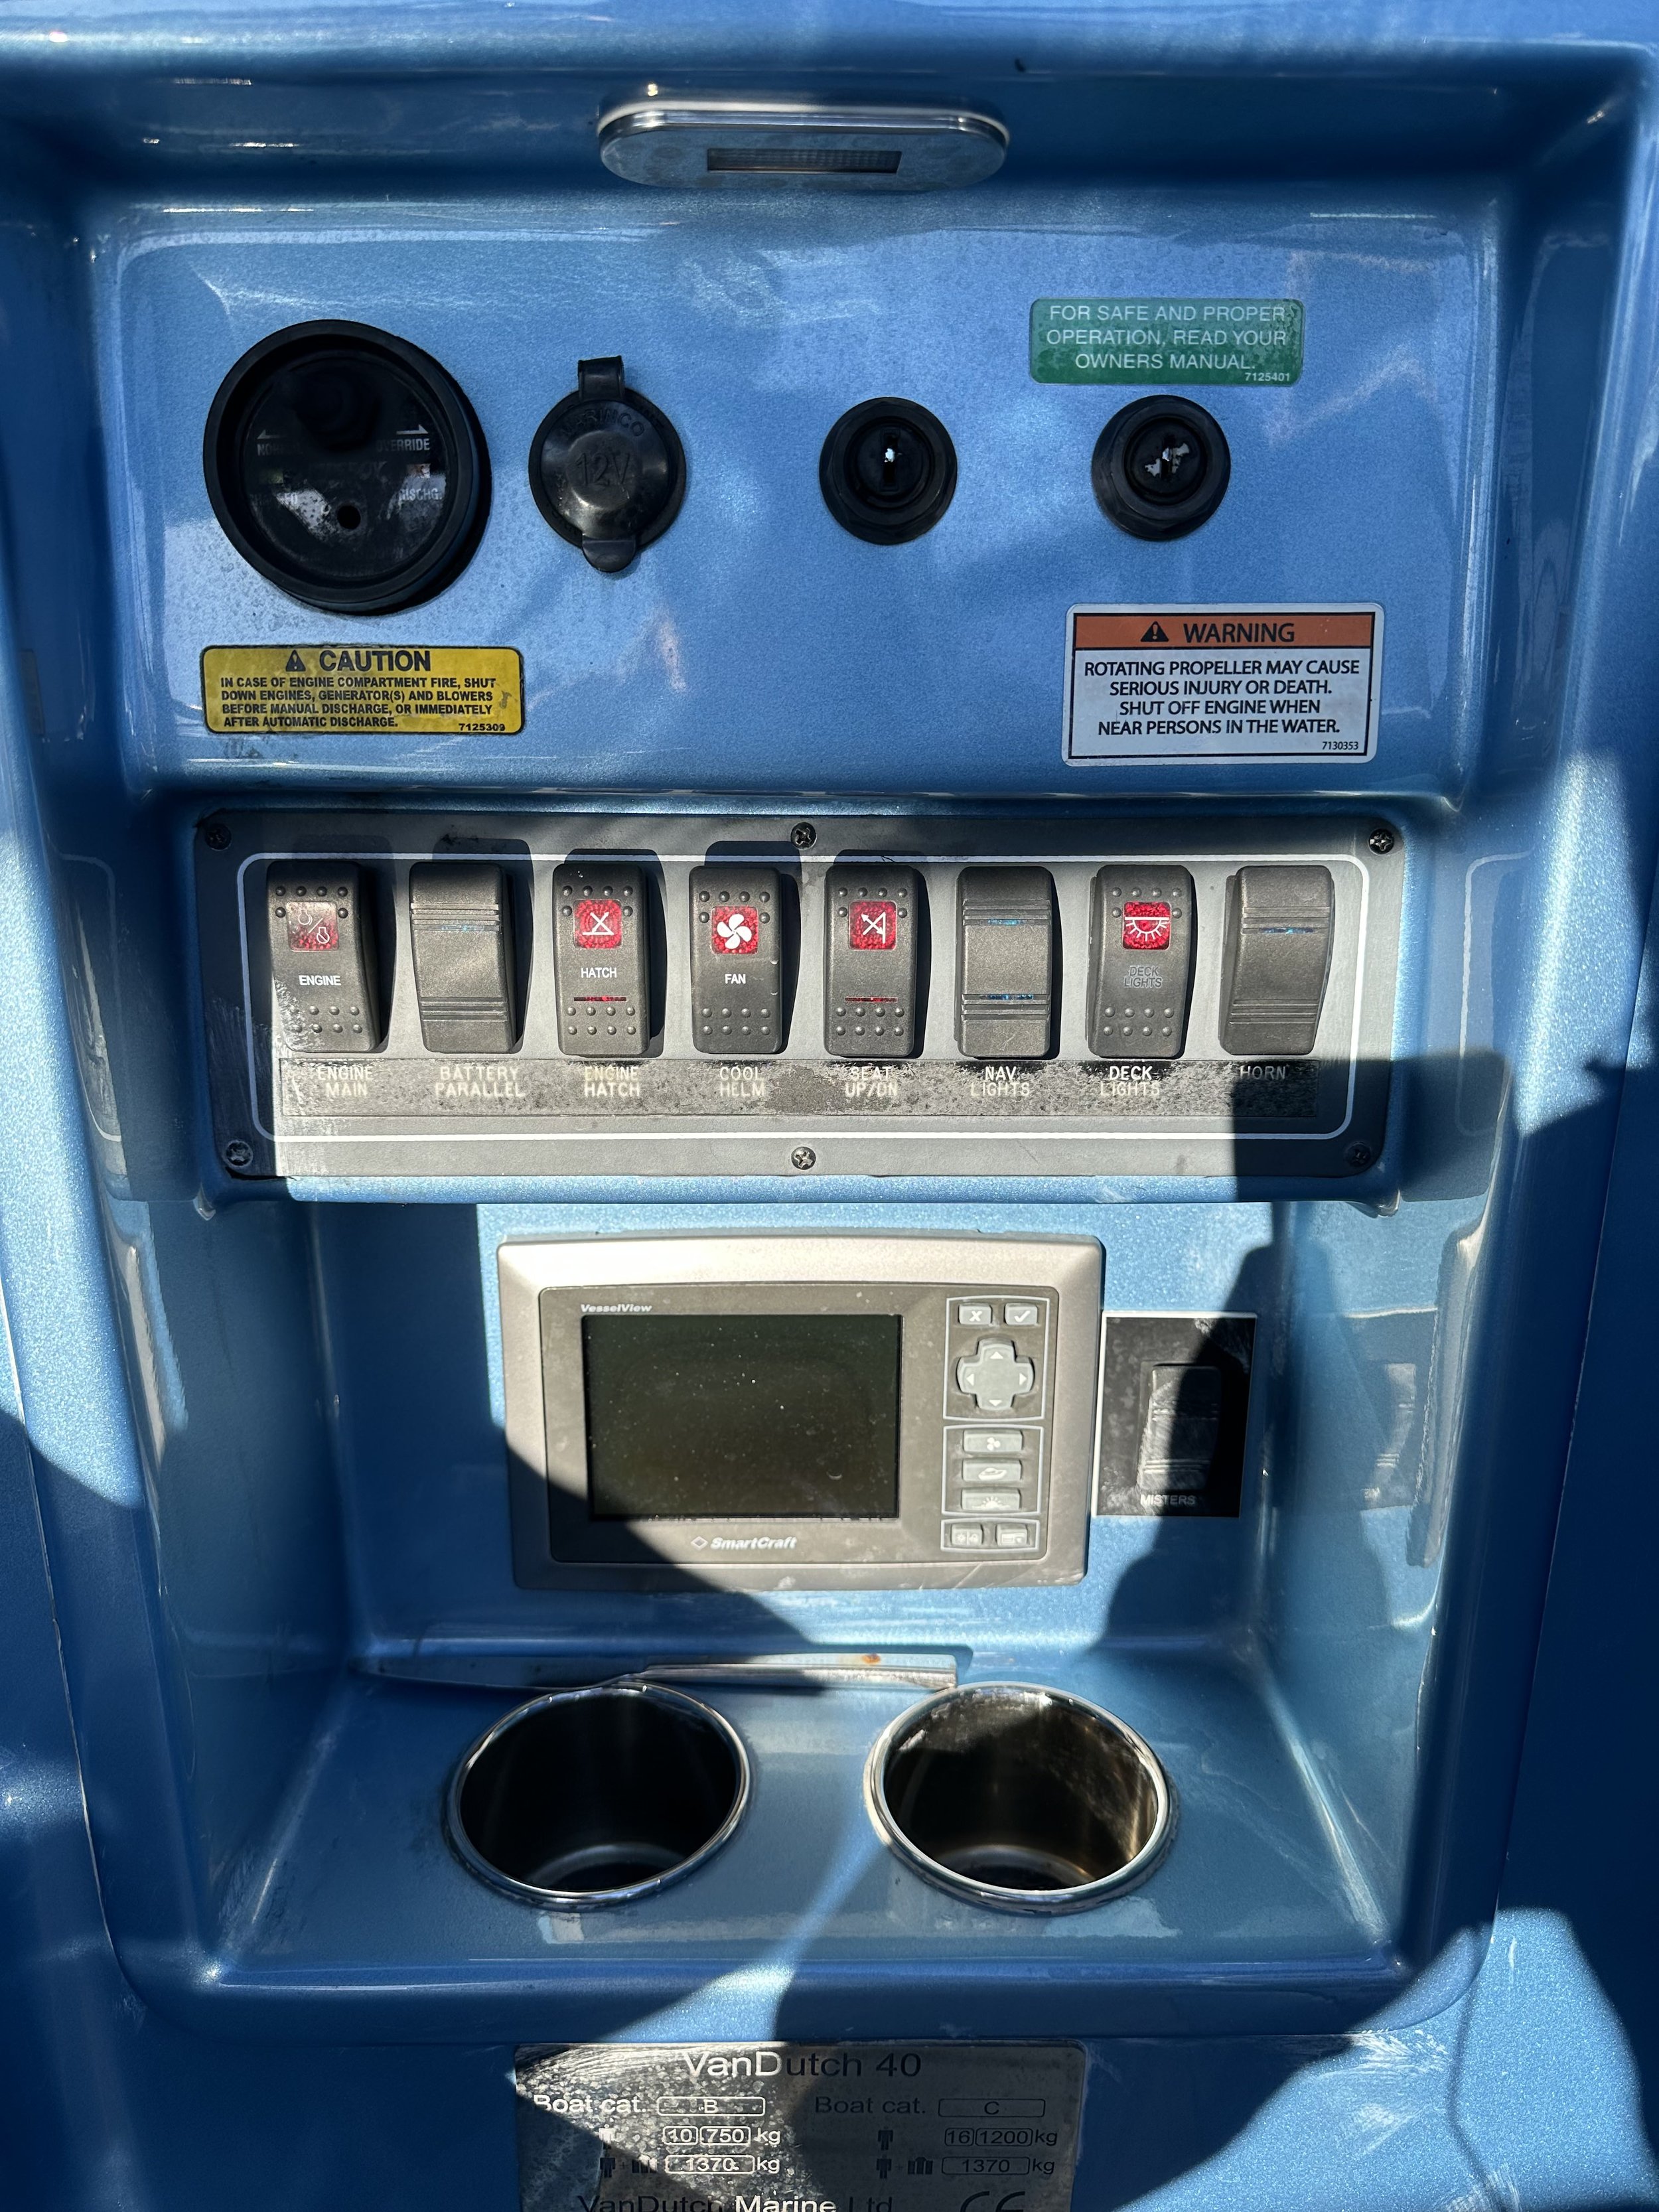
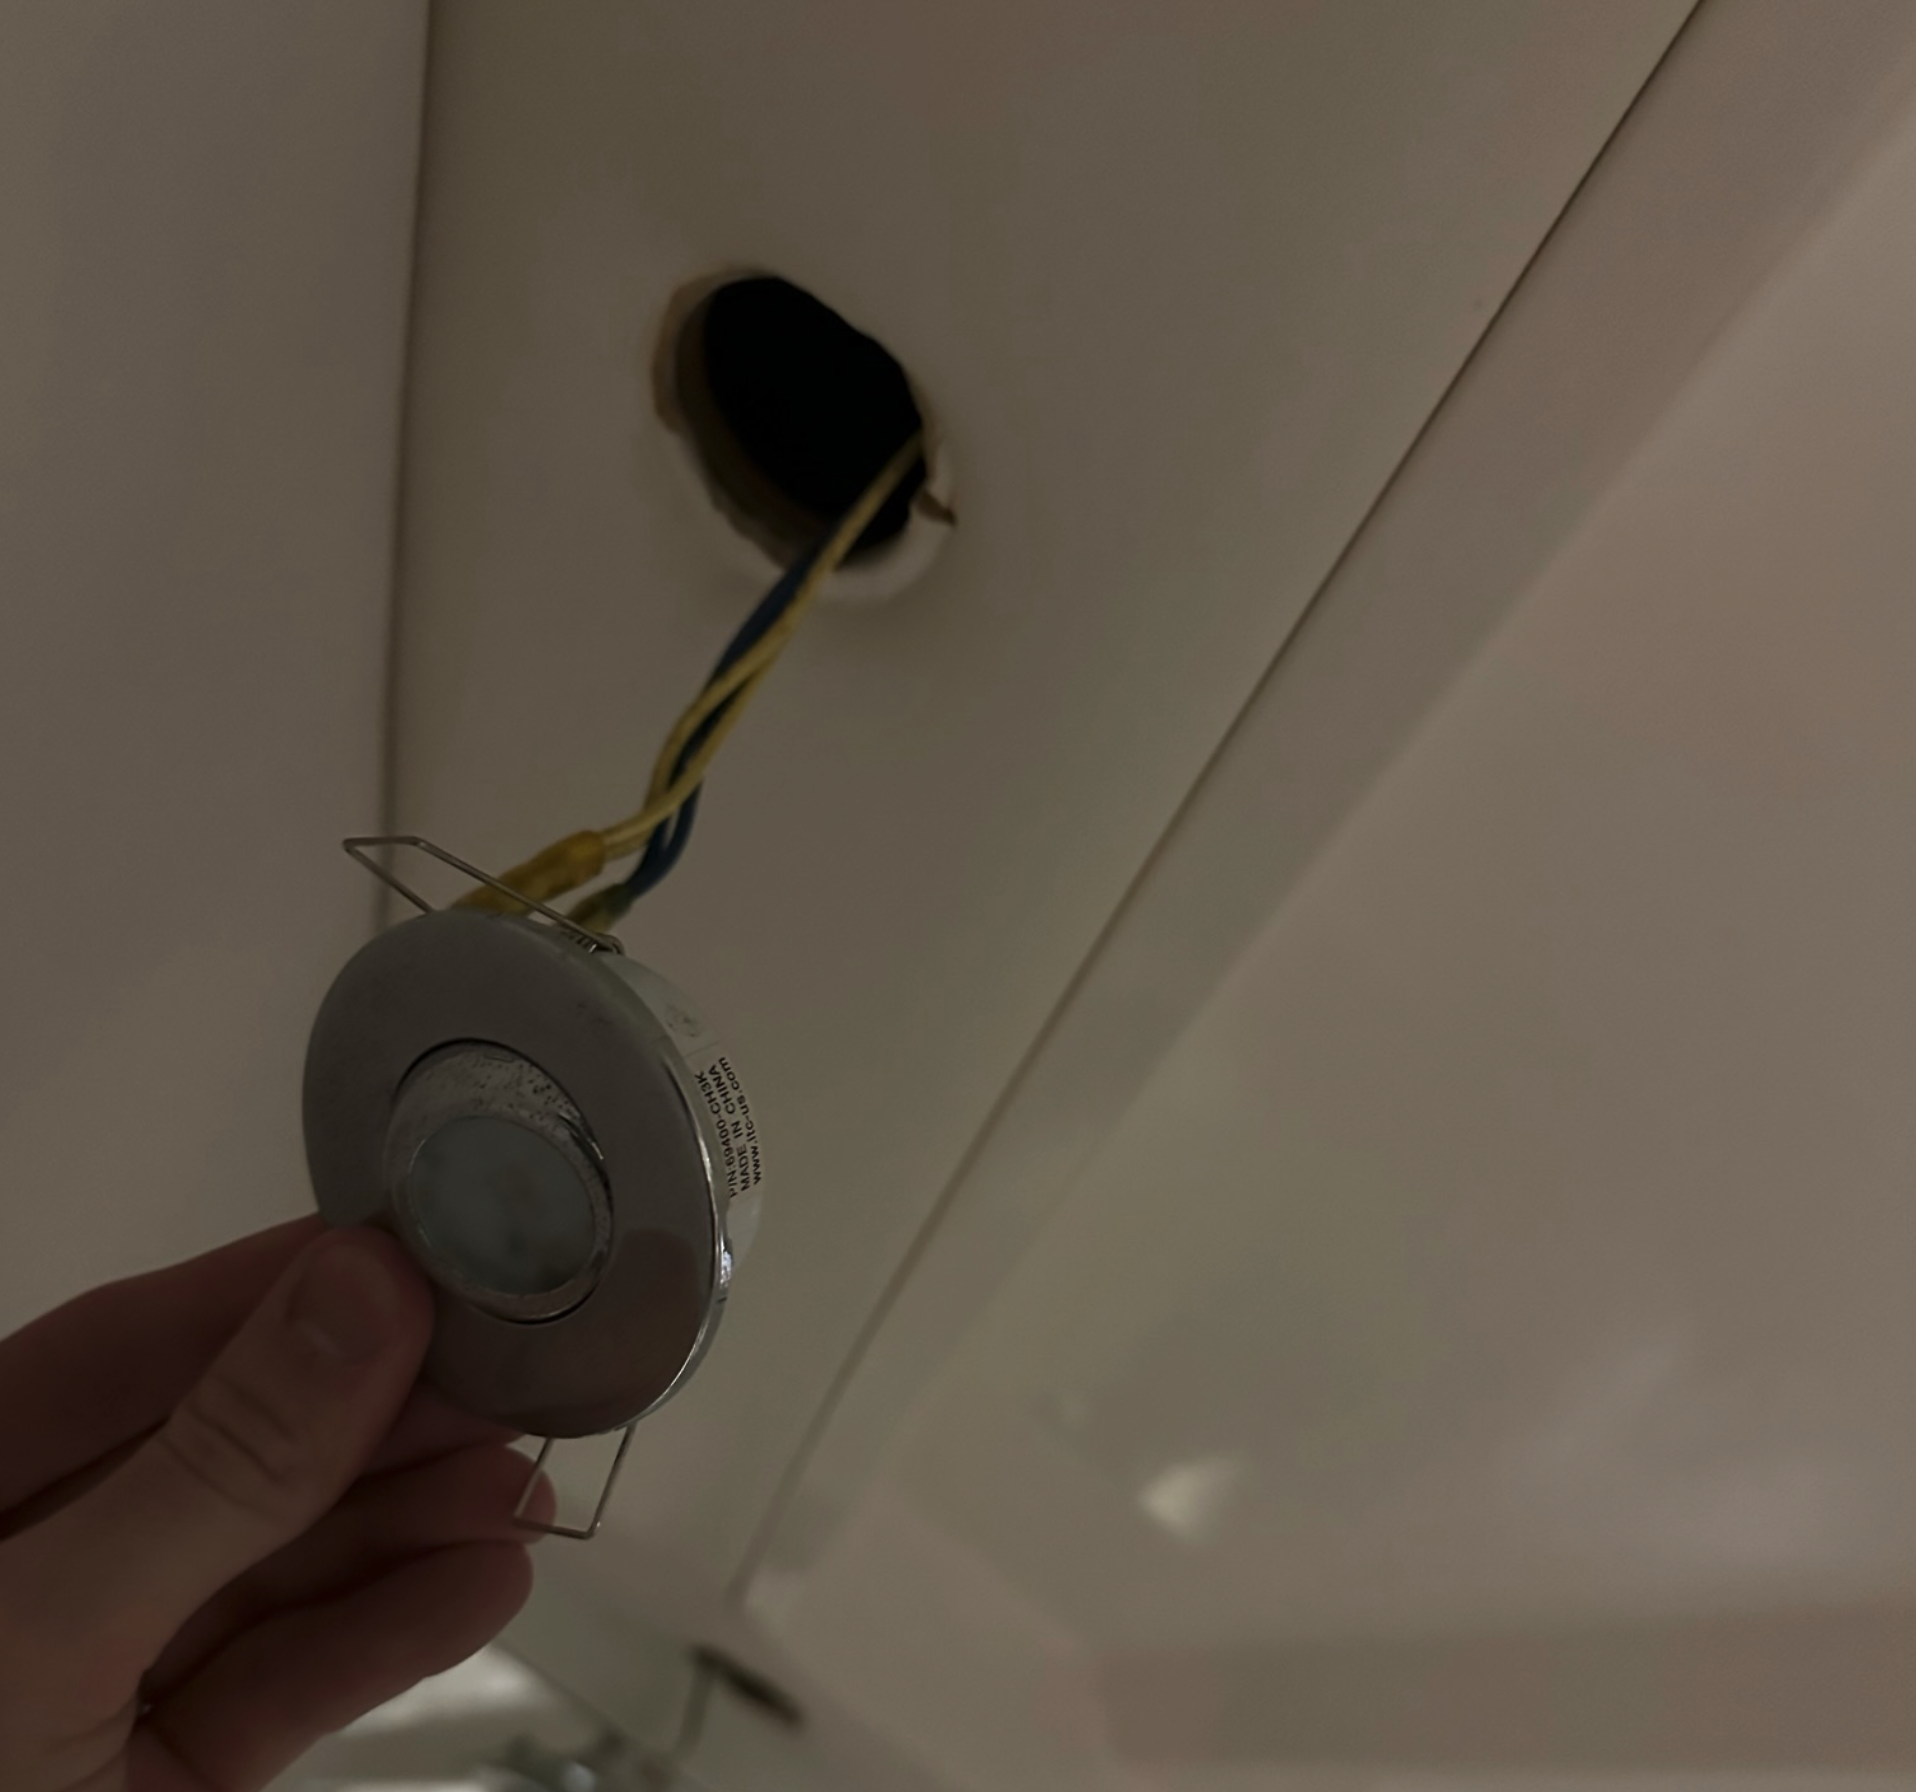
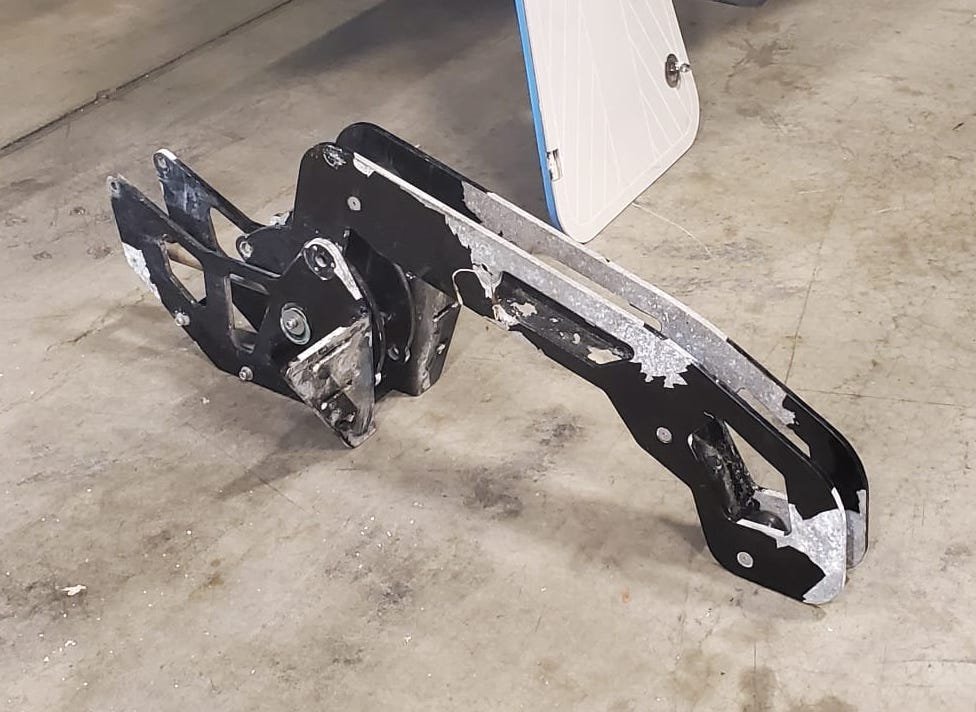
Before getting to the fun stuff, we had to put out the fires. The shaft and rudder seals were bleeding water, batteries were toast, engines and generator needed a tune, and that was just at the surface. But we had good bones. Every issue - albeit many - could be traced to a straightforward solution. So, without further ado, we got started with a complete list of problems to solve.
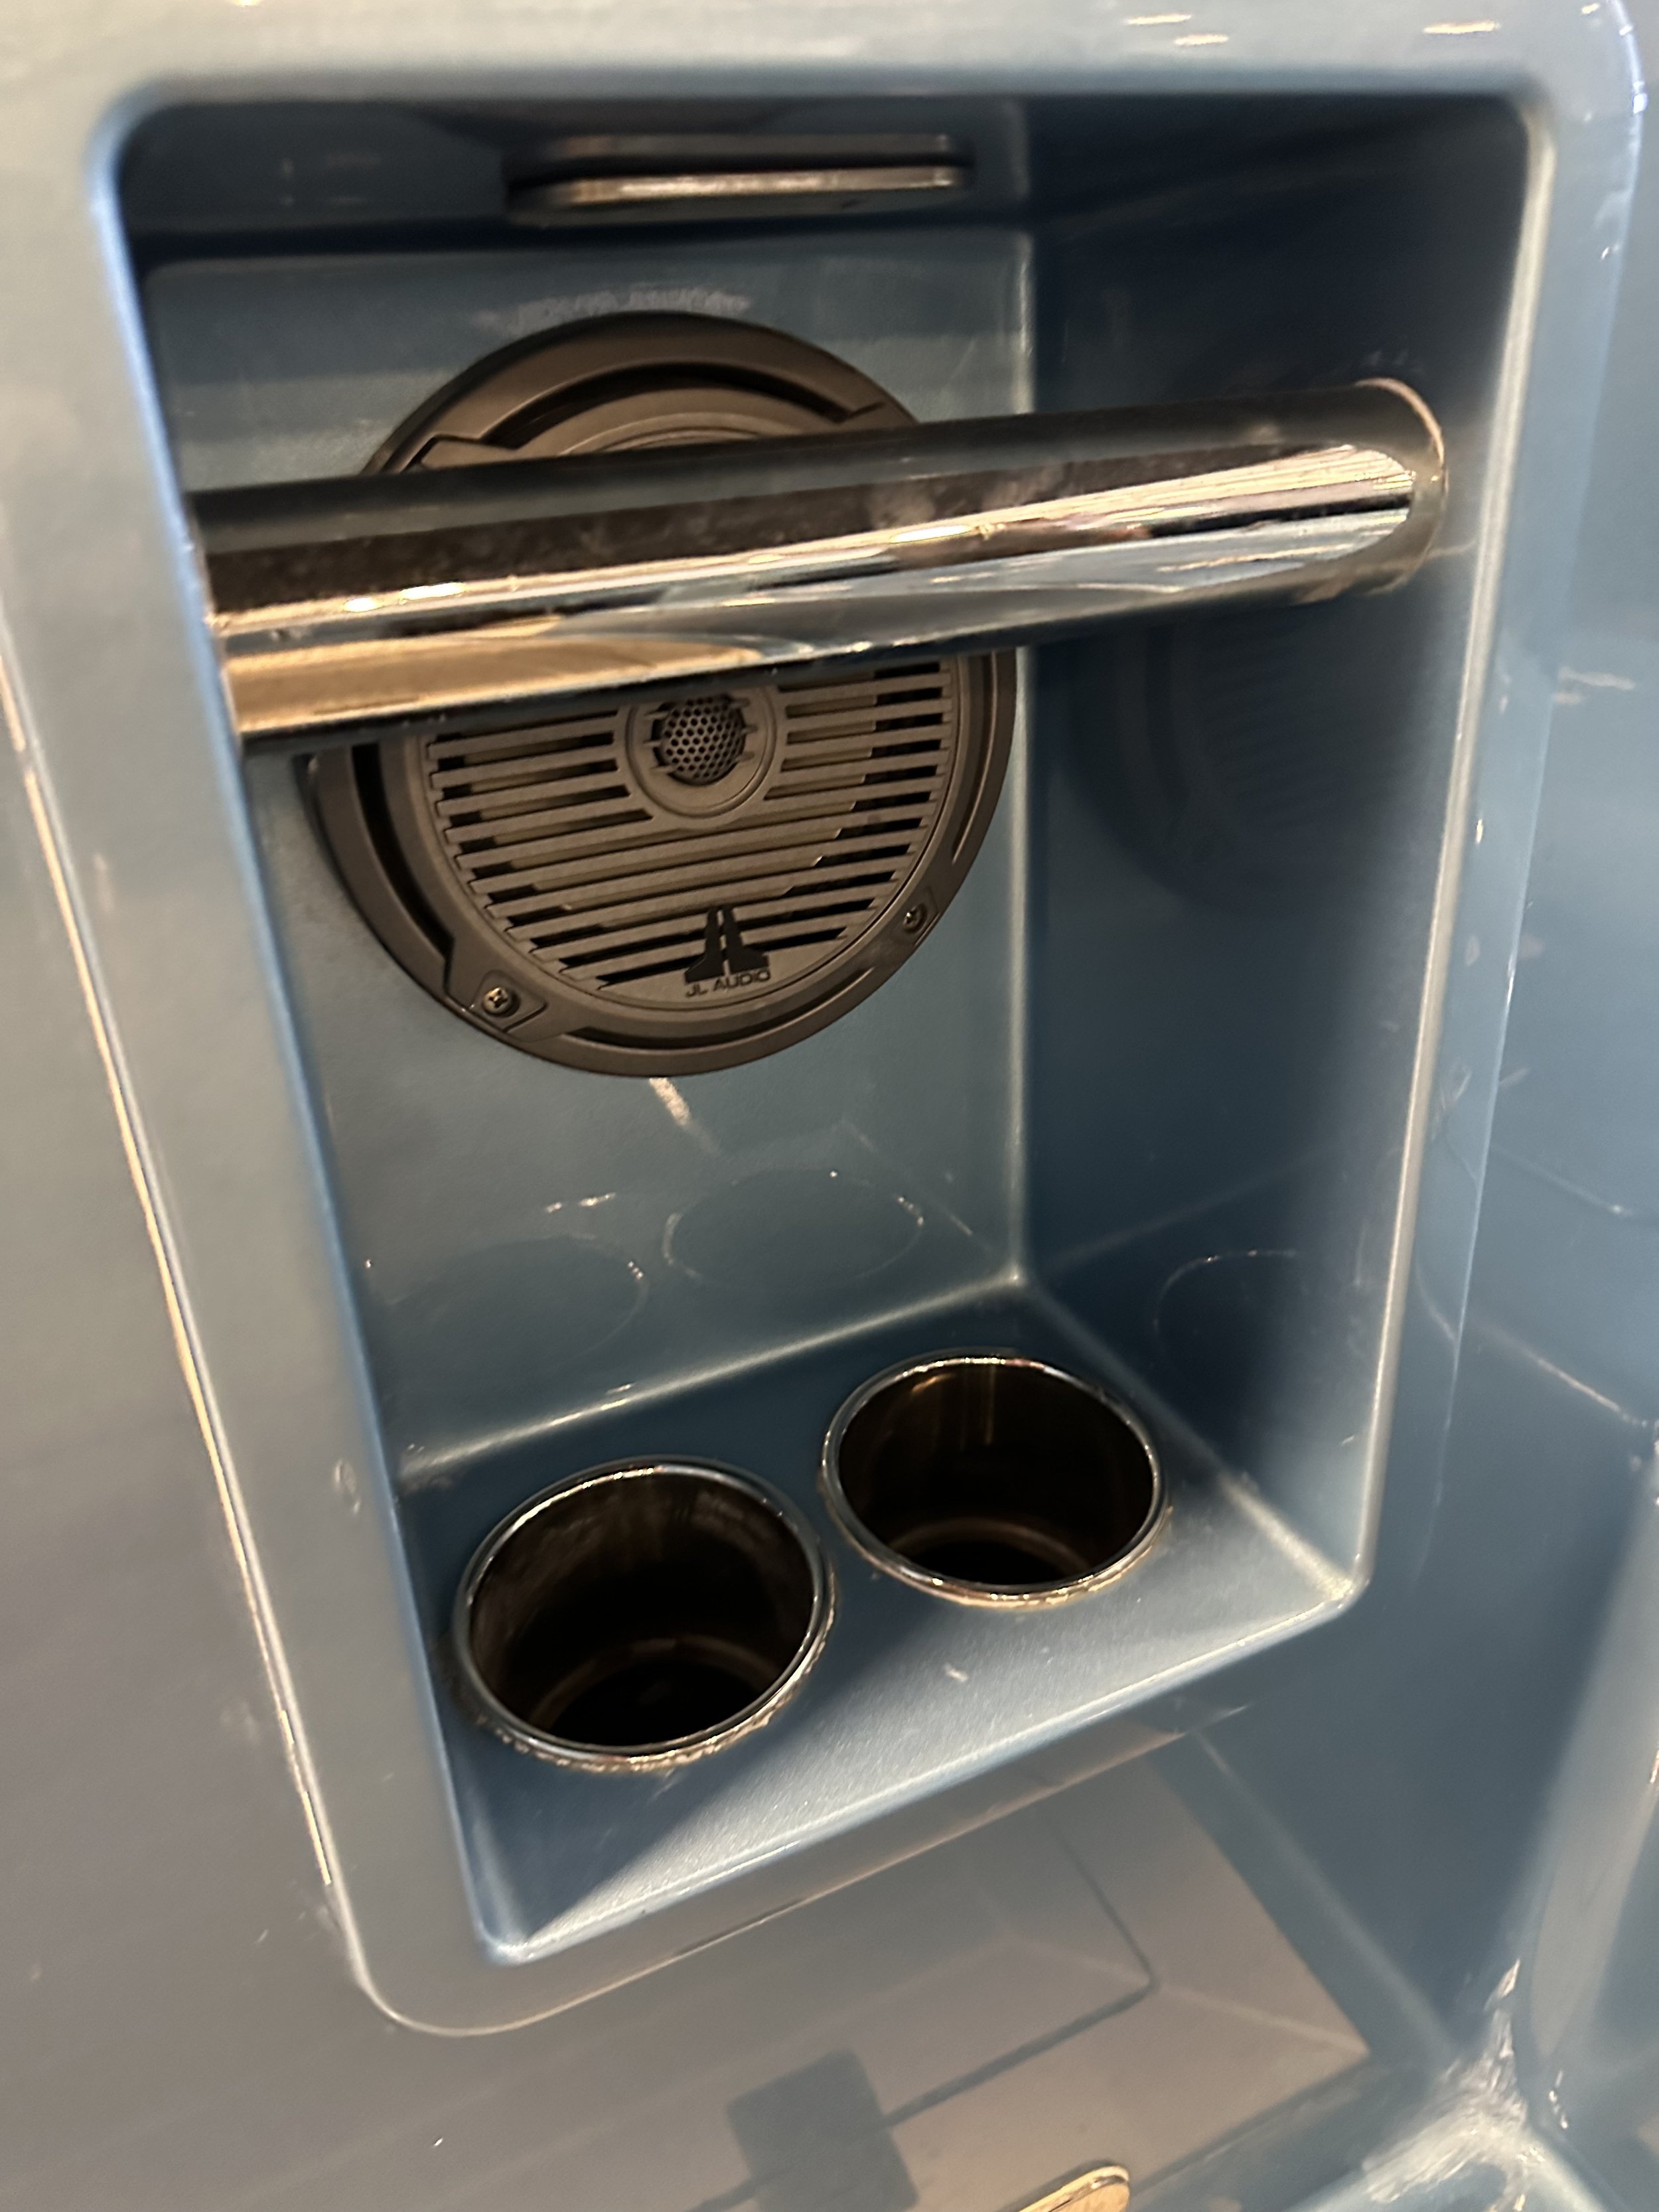
We spent a few extra hours on the water stressing the systems we wanted to keep to make sure our plan was secure. We checked breaker panel response, engine data reporting, plumbing, bilge pumps, sound system quality and depth of cosmetic damages to name a few. Once the engines turned over, it was clear we had good performance with low vibration. An ideal combo. Our main issues, thankfully, were electrical and cosmetic. Manageable. Once we got the problems defined, the timeframe started to take shape. Could we find the parts?
REFIT TIP: If you’re considering a similar project, involve someone who has access to parts at wholesale. You will save significant money, and you’ll have direct access to parts experts who can suggest a better approach if one is available. It would be gut-wrenching to commit financially to a big project only to find replacement parts are significantly more expensive than expected, or even discontinued.
When Jason initially showed us the boat, I knew it was built in the US; great news for sourcing parts. Some items were available locally at West Marine while others were 6-8 weeks out. Knowing we had a month-long paint process ahead of us, jobs were aligned “pre-paint” or “post-paint”, with a priority to finish any heavy mechanical jobs before paint. With our parts plan and lead times defined, our timeframe and budget was accurate and we could get to the fun part: designing the systems this boat has needed all along.
STEP 2: Design the Dream
For VanDutch fans out there, the underperforming areas of the VD40 may be obvious. Not all of them could be addressed (i.e. size/shape of bathroom) but we’d set out to fix as much as we could.
Featured Customizations
Below are a selection of custom options built into the VanDutch. Watch our complete refit documentary on YouTube airing late June 2023 to see everything in detail.
Cockpit bar
custom designed white quartz double bar with black fixtures.
Courtesy lighting
now illuminating the cockpit with 14 premium pin LEDs.
Phone charging locations
added 5 wireless charging ports + 2 wired ports.
Black anodized kit
recreated all stainless and chrome pieces in black anodized aluminum.
Redesigned dashboard
Added a 7” Mercury engine screen to a remade dash panel.
STep 3: Dream to Reality
The project cruised along before 10 days of rain paused the spraying of our hull color. Those 10 days laid siege to a schedule that had been in place for 8 weeks. We’d worked inside a warehouse until it was time to paint, but alas, mother nature made her mark on the project when she had the chance.
Even with the planning, a paint delay wasn’t our only surprise. The deeper we dove, the more imperfections we found. Corroded wires, loose harnesses and unsecured components had to be scheduled into the reassembly. This wasn’t just about improving cosmetics. It had to be great all the way from the fiberglass.
REFIT TIP: If you’re structuring your project in thirds (disassembly, paint, reassembly) plan your reassembly to take at least four times longer disassembly. I was always finding little things I wanted to improve once we got into the depths of the project. And while you’re in deep, swapping out a freshwater shower system is probably a quarter of the cost compared to what it be by itself.
Once we got into a flow, we were swapping out everything from magnets and latches to imperfect screws just because we had the manpower. The end product benefited significantly for a nominal increase in cost.
From the start, I knew I’d come across a moment when we’d finally feel “over the hump”. When it would stop feeling like a dumpster fire and starts looking like the early vision. For this rebuild, it was when the speaker boxes were glued in. I had the guys clear all their tools off the boat and give it a wipe down so we could finally see the fruits of our labor. At that point it had been close to 10 straight days of reassembly.
WHERE TO LOOK
If you’re doing similar work on VanDutch’s, here are a few things to look out for:
Helm Wire Management - otherwise known as the “rat’s nest” to our team. Behind the ignition switches was a tangled web of wires, old and new, with a good bit of oxidation. We didn’t plan it, but ended up replacing the grounding panel and rerunning a lot of switch wiring just to find out where things originated. There is no direct access to that area, so make sure its clean and tidy before its sealed back up.
Engine Hatch Gasket - in time, they flatten, crack, and even fall off. We purchase a much thicker version than is used on the deck hatches, and apply it directly to the hull (instead of the underside of the engine hatch door). This application is a better treatment for the gasket over time, and proves a better solution for limiting engine room noise.
Stern Thruster Motor - its always been the part that breaks. Not much protection from the rest of the engine room, including any water that finds its way in. You’ll likely find any motor with some form of water intrusion, and if you put a new motor, make sure you protect it with a casing.
EYES ON THE PRIZE
As the project came to a close, the focus got smaller and smaller. Original broad thoughts of project timeframe and parts sourcing became hyper-focused on if we had time to renew every bolt and screw. All the stress culminated with one event: The first full cleaning that would reveal any hidden damages from the past weeks. It’s the moment you see whether your electrician scratched the side walls or if your painter didn’t buff the aft quarter. Luckily, we only found a few manageable scraps and had to fill in the old upholstery fitting holes with silicone. We had the squad at the ready for the finishing touches.
We gunned new caulk to the swim platform and a few other places on the top deck, applied clear 3M vinyl to protect high traffic areas, polished the windshield and its frame, cleaned up the stainless steel and cleared away any excess caulk. We could finally see the light.
I proudly believe M/Y Boobytrap is the best VanDutch 40 in the world, and hope our documentary sheds an entertaining light on the process of refitting a day boat.
Watch the Full-Length Refit Documentary on YouTube
I felt the refit process would be enriching for everyone to see, from start to finish, so we filmed the entire thing. Please enjoy.
To contact Reed about this project and others, send us an email here.
For more information on the refit of Boobytrap, contact us.


